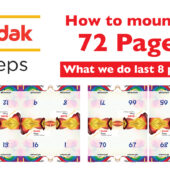
24. (12 Pages) Magazine Slug setting with Saddle Stitch | Kodak Preps | Ai

Related


24. (12 Pages) Magazine Slug setting with Saddle Stitch | Kodak Preps | Ai
admin | July 3, 2024
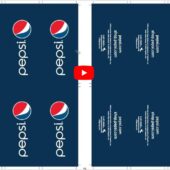
Perfecting 12-Page Magazine: Saddle Stitch with Slug Setting
Welcome to our in-depth guide on setting up a 12-page magazine with saddle stitch settings. This tutorial will cover all the essential steps to ensure your magazine is professionally finished.
What is Saddle Stitch with Slug Setting?
Saddle stitch binding involves folding sheets and stapling them along the fold line. The slug is an area outside the trim line for printing information such as titles or date codes.
Key Steps in Saddle Stitch with Slug Setting
1: Setting Up Your Document
- Choose the Right Dimensions: Ensure your document is set to the correct size, including bleed and margin settings.
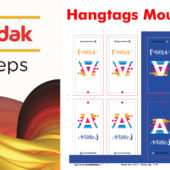
- Add Slug Area: Define the slug area in your document setup to include necessary print information.
2: Creating Your Magazine Layout
- Design Your Pages: Create and arrange your magazine pages, ensuring the content fits within the margins and bleed areas.
- Add Cutting Marks: Include cutting marks to guide the trimming process.
3: Applying Saddle Stitch Binding
- Prepare for Folding: Ensure pages are in the correct order for folding and binding.
- Staple the Spine: Use a saddle stitch stapler to bind the magazine along the fold line.
Benefits of Using Saddle Stitch
Using saddle stitch with slug setting ensures a professional finish and accurate trimming of your magazine.
Extensive Tutorial Series
For more detailed instructions, watch our tutorial on YouTube or visit our website www.artistici.pk for additional resources.
Conclusion
This guide provides a comprehensive overview of setting up a 12-page magazine settings. Follow these steps for precise and professional results.
Next Tutorial
World Most Power Cars Magazine Imposition on Plate Setting CTP
Written by admin